本文目录
ps怎么把白色变暗
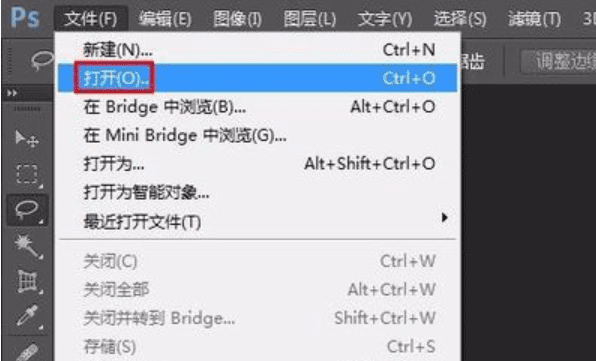
1、首先,在ps软件中打开一张需要局部调整亮度的图片,如下图所示。
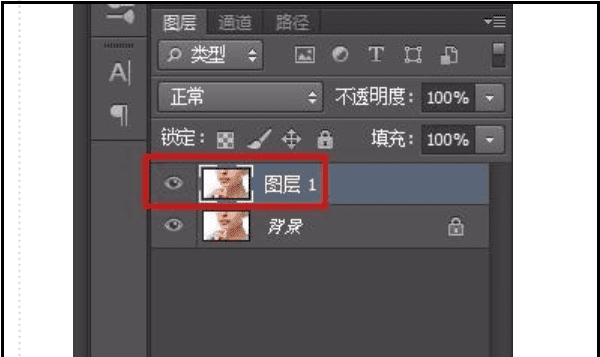
2、然后,按Ctrl+J键复制背景图层,如下图所示。
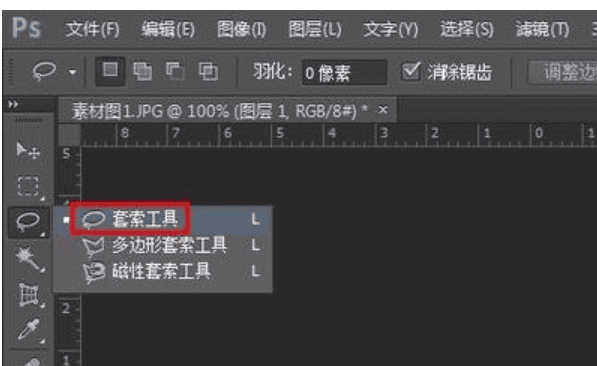
3、将左侧工具栏中选择“套索工具”,选中需要调整亮度的区域,如下图所示。
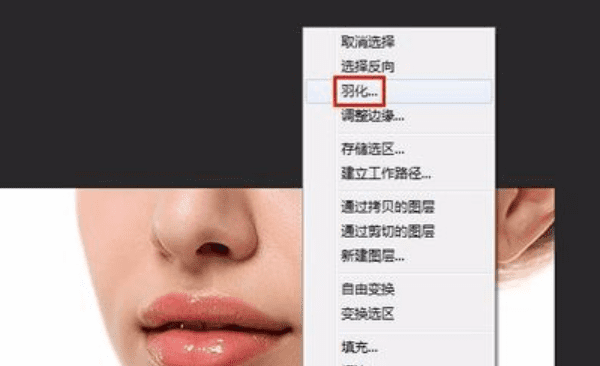
4、单击鼠标右键选择“羽化”,羽化值设置为30像素,如下图所示。
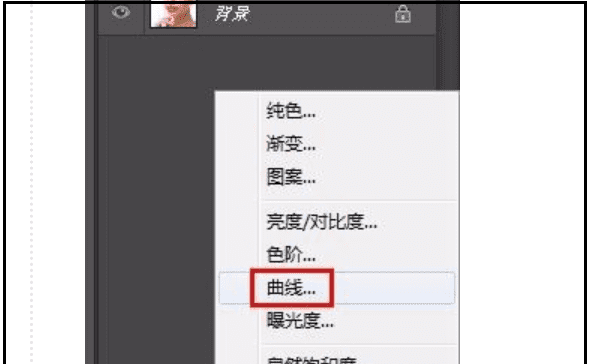
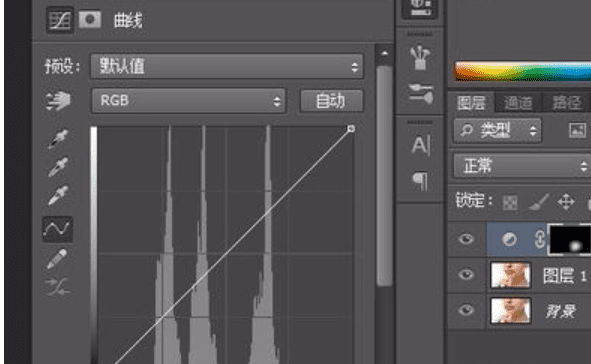
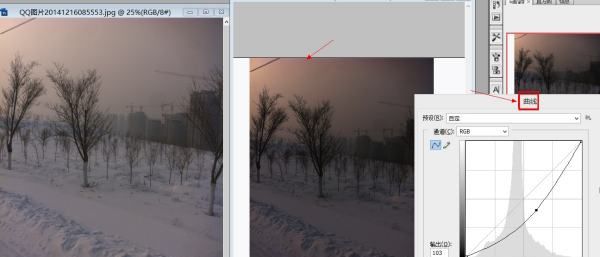
5、单击“创建新的填充或调整图层”按钮,选择“曲线”选项,如下图所示。
6、弹出曲线“属性”对话框,如下图所示。
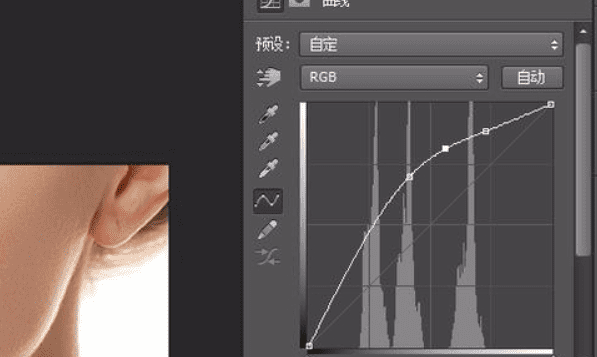
7、再根据图片变化调整曲线至满意为止,如下图所示。
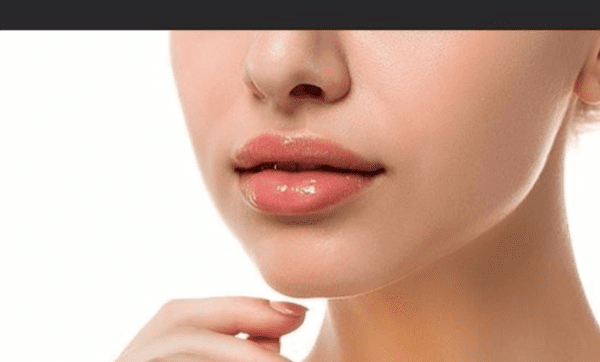
8、这就完成了,看看效果,如下图所示。
怎么用ps 把周围慢慢变黑变暗了
1、首先打开PS软件,然后在PS中打开需要处理的图片,按“Ctrl+j”复制,如下图所示。

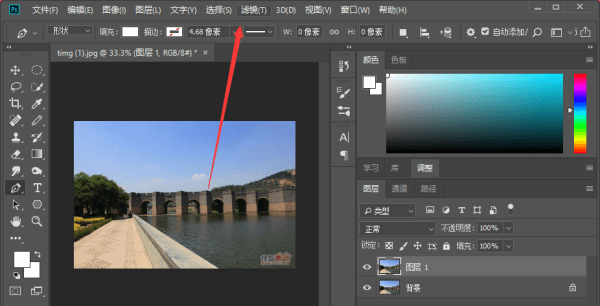
2、接下来在上方工具栏中选择“滤镜”-“镜头校正”,如下图所示。
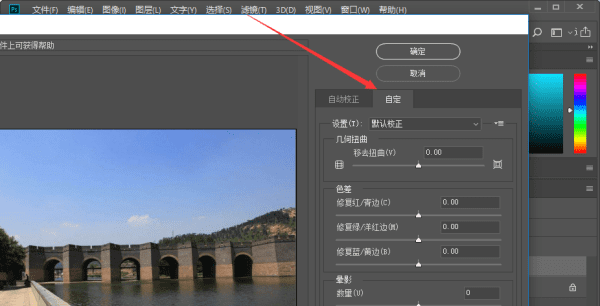
3、然后在弹出的对话框中选择“自定”,如下图所示。
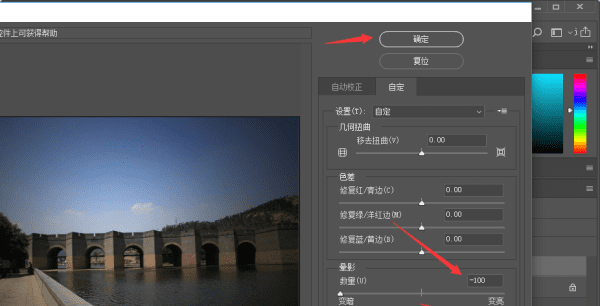
4、接下来按下图红色箭头所指处设置即可,如下图所示。
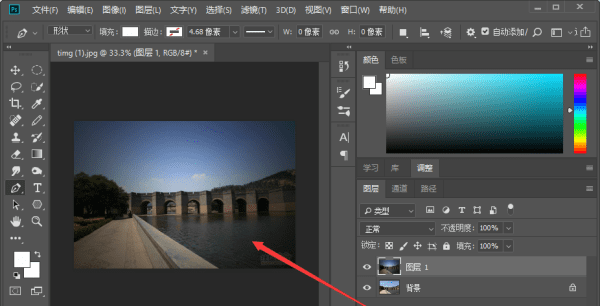
5、以下是完成之后的图片。
ps中如何调整图片大小
ps中让单一图层变暗的方法:
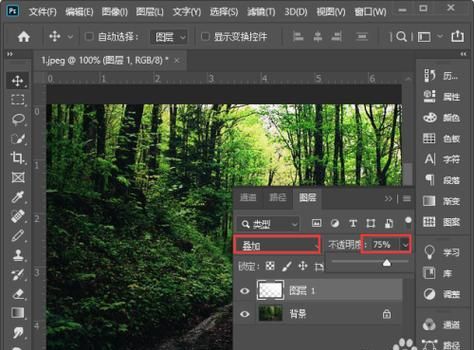
1、降低图层透明度,使用快捷键:CTRL+U。
2、曲线修改亮度:CTRL+M调整曲线。
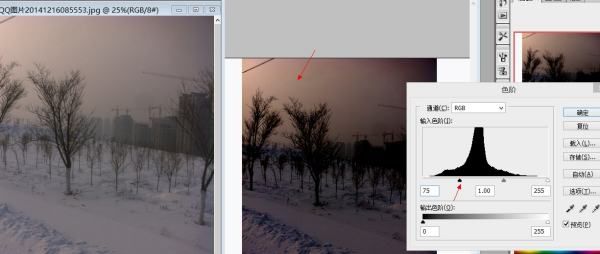
3、调整色阶,按快捷键:CTRL+L调整。
ps怎么处理局部过暗
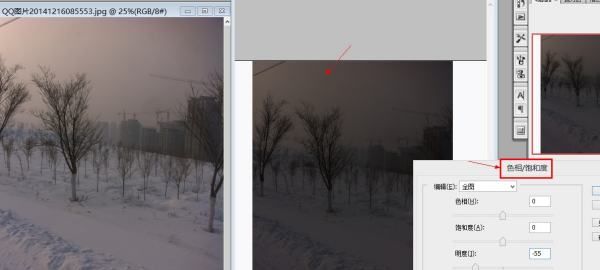
在电脑上打开ps软件。然后将需要调整的图片导入ps软件中。导入图片后,在ps界面的上方选择滤镜,并在弹出的对话框中选择镜头矫正,使用自定义增加阴影的数量,然后点击确定即可。
AdobePhotoshop,简称“PS”,是由AdobeSystems开发和发行的图像处理软件。Photoshop主要处理以像素所构成的数字图像。使用其众多的编修与绘图工具,可以有效地进行图片编辑工作。
以上就是关于ps怎么局部变暗,ps怎么把白色变暗的全部内容,以及ps怎么局部变暗的相关内容,希望能够帮到您。
版权声明:本文来自用户投稿,不代表【蒲公英】立场,本平台所发表的文章、图片属于原权利人所有,因客观原因,或会存在不当使用的情况,非恶意侵犯原权利人相关权益,敬请相关权利人谅解并与我们联系(邮箱:350149276@qq.com)我们将及时处理,共同维护良好的网络创作环境。