本文目录
ps怎么调色温
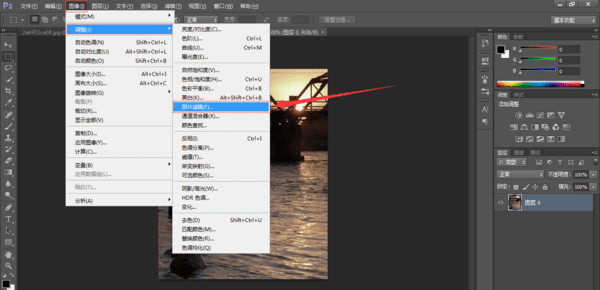
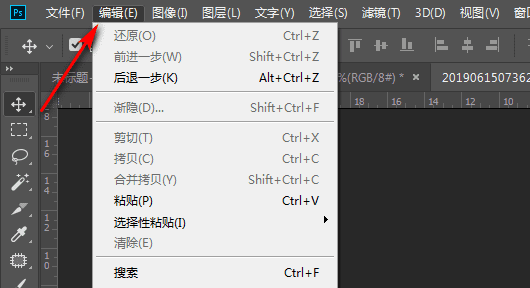
1、先以提升色温操作为例,在photoshop中点击“图像-调整-照片滤镜”,打开照片滤镜调整工具的控制窗口。
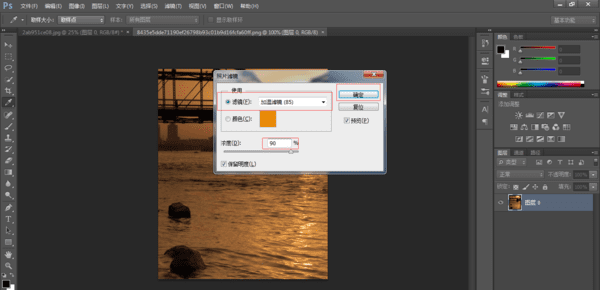
2、调整照片的色温,在照片滤镜调整工具的控制窗口中,打开“滤镜”的下拉菜单,选择加温滤镜(85),加温滤镜(85)可以使图像的颜色更暖。随后,通过调整“浓度”滑块,来辨识照片的调整效果。在调整妥当后,点击“确定”即可。
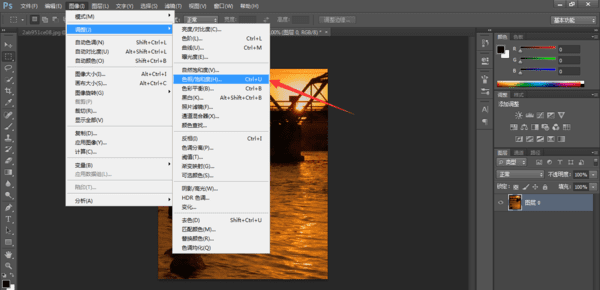
3、当调整结束以后,点击好确定保存,当色温得到解决以后,如果还想调整什么,可以通过左上角的图像-调整-色相饱和度进行继续优化,以达到最好的效果。
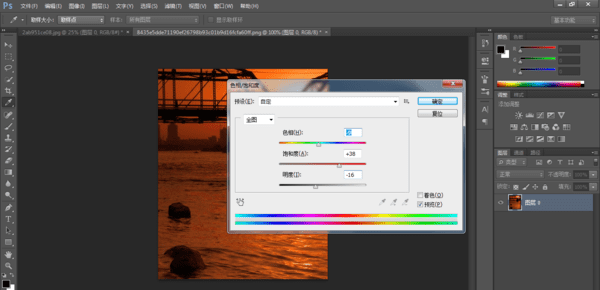
4、打卡色相/饱和度以后,预设为自定义,色相为-9,饱和度为+38,明度为-16,然后点击确定即可保存效果。
5、最终效果图,如下图所示。
ps怎么调照片色温
照片的色温跟颜色一样重要,还好ps里面可以调节。很多刚学习的新手小伙伴可能还不知道,下面是我带来关于ps怎样调节照片色温的内容,希望可以让大家有所收获!
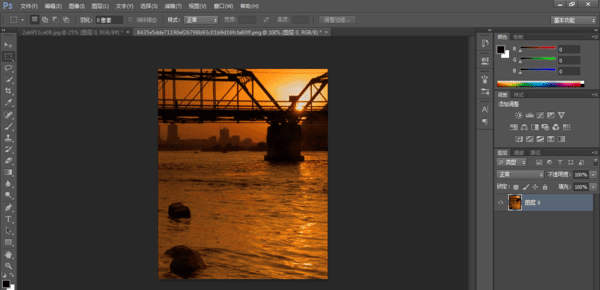
ps调节照片色温的方法 1、首先需要一张原图片,为了下面调整色温做准备;
2、为了良好的PS习惯,先将图片复制成新图层;
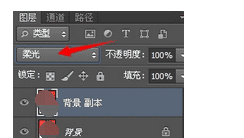
3、选中背景副本,在下面图片的位置选择柔光;
4、这时请使用快捷键CTRL+M ,打开曲线工具。RGB 红 蓝的调整方式如图所示;


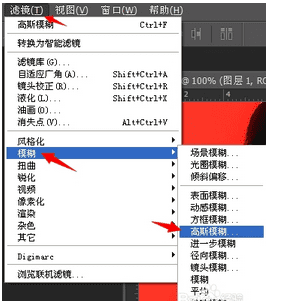
5、这一步使用CTRL+SHIFT+ALT+E,盖印图层。再选择滤镜-模糊-高斯模糊 模糊半径为12像素左右,点击确定。再选择柔光;
6、好了,最终暖色调片子出炉了。
ps怎么调色温
工具/原料:Photoshop软件。
1、首先在我们的电脑桌面上找到PS并点击它。
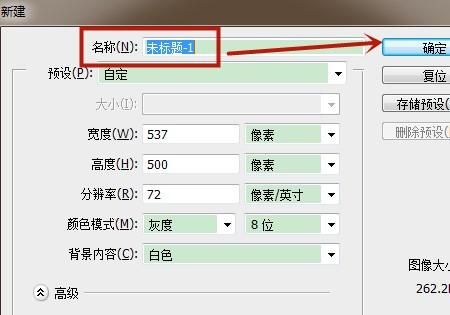
2、然后新建一个图层。
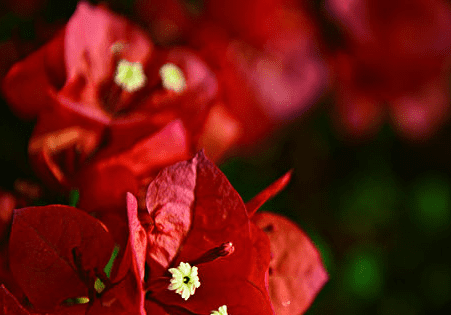
3、接着在图层当中插入一张我们想要的照片。
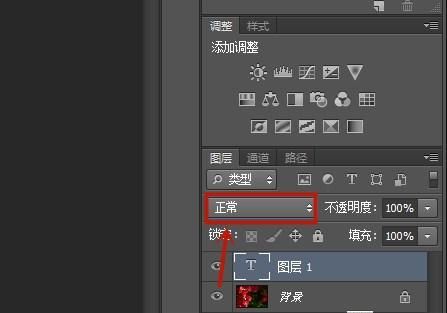
4、然后点击屏幕右侧的正常。
5、最后选择我们想要的色温就可以了。通过以上操作,我们就成功利用ps改变了图片中的色温了。
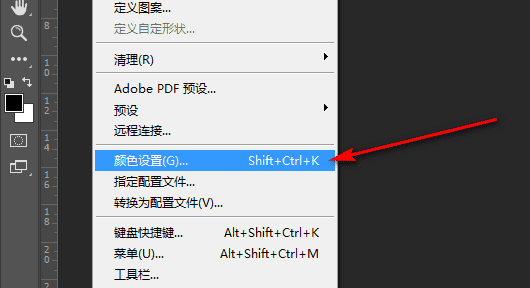
photoshop颜色怎么调
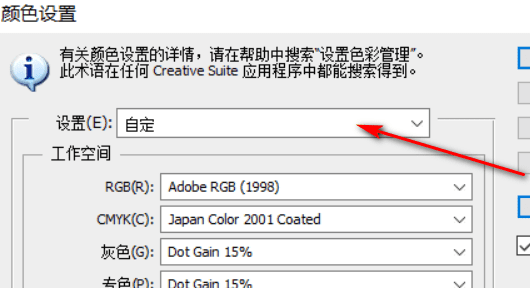
3、进入颜色配置后,首先将默认的更改为自定义。
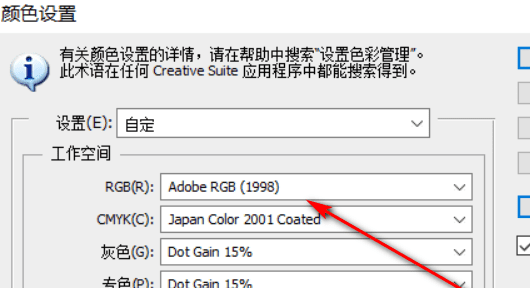
4、然后将RGB更改为Adobe RGB(1998),这个在RGB中的色域是最广的。
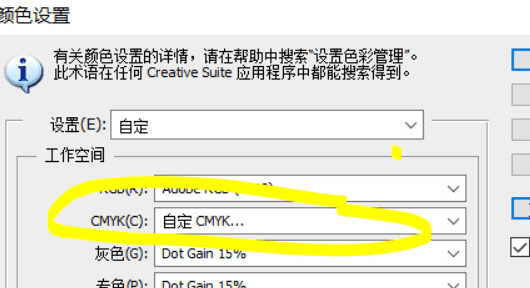
5、然后自定义CMYK色彩模式,设置好之后点击确定就可以了。
以上就是关于ps色温在哪里,ps怎么调色温的全部内容,以及ps色温在哪里的相关内容,希望能够帮到您。
版权声明:本文来自用户投稿,不代表【蒲公英】立场,本平台所发表的文章、图片属于原权利人所有,因客观原因,或会存在不当使用的情况,非恶意侵犯原权利人相关权益,敬请相关权利人谅解并与我们联系(邮箱:350149276@qq.com)我们将及时处理,共同维护良好的网络创作环境。